Steps to 3D Printer Bed Leveling
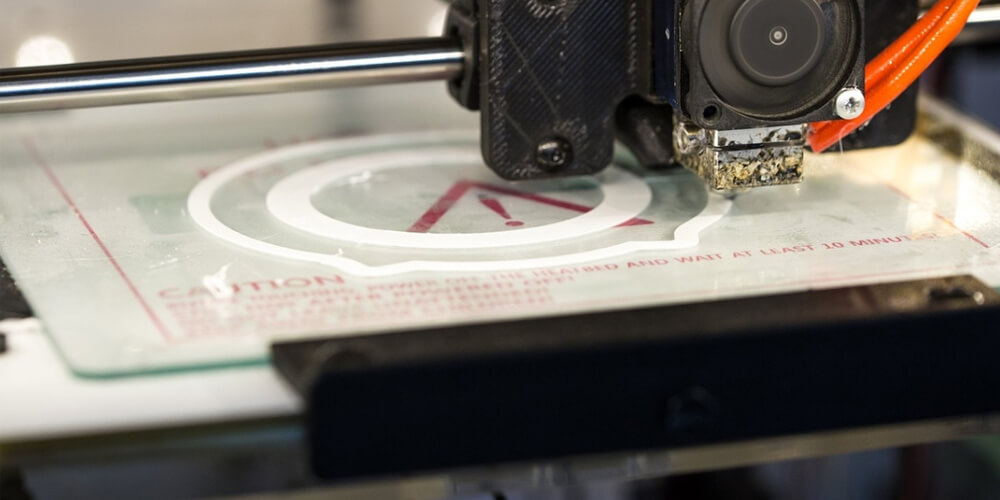
When it comes to 3D printing, bed leveling is plays an important role. Without it, you cannot have your desired print. After buying a 3D printer, bed leveling is necessary. You need to learn how to level 3d printer bed. It does not matter whether you are an experienced maker; you may have to spend a lot of time leveling the bed. Therefore, you should consider this to be part of routine maintenance.
Signs that 3D Printer Bed Leveling is Needed
Print Does Not Stick to the Bed
The first layer is quite important if you want to get a good print. For the first layer, you need excellent bed adhesion. When the gap between nozzle and bed is quite large, the filament can begin pulling up. Even whether the first layer does stick, but the bed is not level, you will have issues with the print, and the entire print can detach from your bed.
Too Thin Layers
Uneven extrusion and issues with first layer consistency are caused by uneven bed. Ideally, the printer should run smoothly and extrude at a uniform rate. However, if the space between the print and nozzle vary, the space that the filament flows to changes and varies the resistance of the filament. Variance in pressure causes inconsistent extrusion, jams, and gaps in the layers.
3D Printer Bed Leveling Steps
If you are a beginner in bed leveling, you need to ensure that the nozzle is at an equal distance from the build plate. That ensures the print is even. Plug and play 3D printers have a detailed guide on how to manually level the bed. Although every printer is different, follow these steps before you start printing.
Step 1
Each printer has knobs and bolts with springs that control the movement of the glass plate. Using an Allan key, tighten the knobs in the corners of the printer.
Step 2
Ensure you remove the tape from the end stops. If the paper is moving easily, then the nozzle is far away from the build plate. On the other hand, if the paper is not moving at all, the nozzle is too close and adjust the build plate.
Step 3
Move the nozzle and paper head to corners of the printer to ensure there is no resistance.
Step 4
Make micro-adjustments in corners of the printer and adjust the bed height with the screws on corners. Begin in one corner and get the print head as possible to the bolt. With an Allen key, adjust the bed until there is resistance on paper from the nozzle. You can repeat this process in all corners of the bed.
Step 5
After leveling all corners with bolts, you should repeat the process for the third time. When adjustments are made in the corners, it affects other corners. Thus, it can take a few times to make it right. Every time you repeat this, the adjustments should get closer and closer.
When you notice the signs of an uneven bed, it is easy to fix the issue early before any filament or time is wasted. After printing something, you need to use some force to get rid of print. Follow these steps, and your 3D printer bed leveling will be smooth.